Platform Setup
After setting up the hardware and right before configuration, we need to onboard the node to the platform. In essence, onboarding creates the “digital twin” of the physical device, using a unique set of keys. With onboarding completed, the node will be ready to read data from the connected sensors and upload them to the platform upon power-on.
Node onboarding includes the following steps:
- First time users create an account into Console.
- Create a device into the platform
- Get the unique device access keys for device provisioning.
Step-by-step procedure
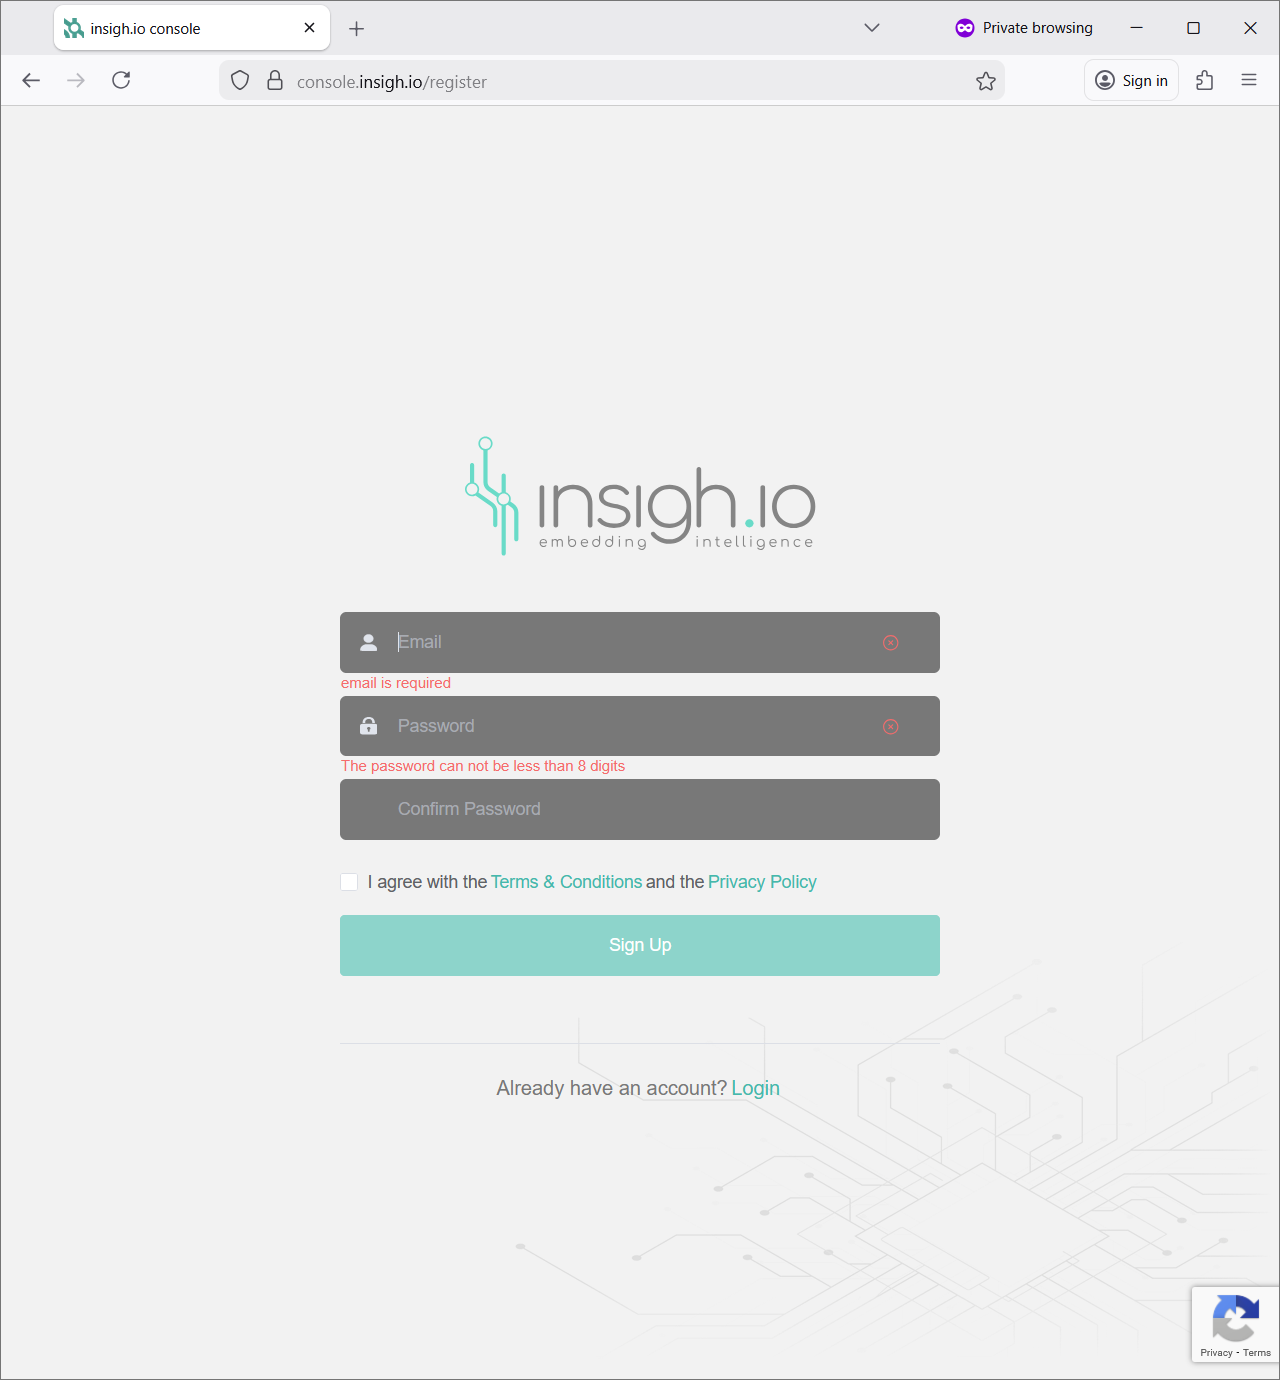
Create Account
- Go to insigh.io console registration page
- Sign up by entering an email and a password.
- Verify your email address by following the link in the email message that has been sent to you.
- Ready to login!
Even if another Console user has sent an invitation to join an existing project, the creation of the user account is mandatory.
First time users are by default associated with their first project, called “personal”. Then, they can create and switch to new projects.
Create Device
These steps will create a device assigned to the account and ready to receive data.
- After Login, go to Device List view.
- Press the + button at the upper middle of the screen.
- In the dialog that appears, enter at least distinct name for the device (ex. demo-device) and press Create (all other fields are optional).

Get Access Keys for Provisioning Device
Upon new device creation, the Device Info view opens automatically.
- Move to More Details [”…"] icon and click to load additional device information.
- Click on the icon next to JSON to copy full access information (ID, Key, Control Channel, Data Channel) in JSON format. Keep this JSON as it will be used in the upcoming Configure Node procedure. Have the page open for validating data upload in the final Validate step.

Final Remark
The “digital twin” of the physical device has been created, and we are ready to move to the node configuration.